Install
changAIs can be installed from an extension marketplace or manually from a downloaded .vsix package.
Download the free VSIX build here: changais-free.vsix.
Requirements
Section titled “Requirements”- Visual Studio Code or a compatible VS Code-based editor.
- A marketplace listing or a changAIs
.vsixfile. - A project folder you can open in the editor.
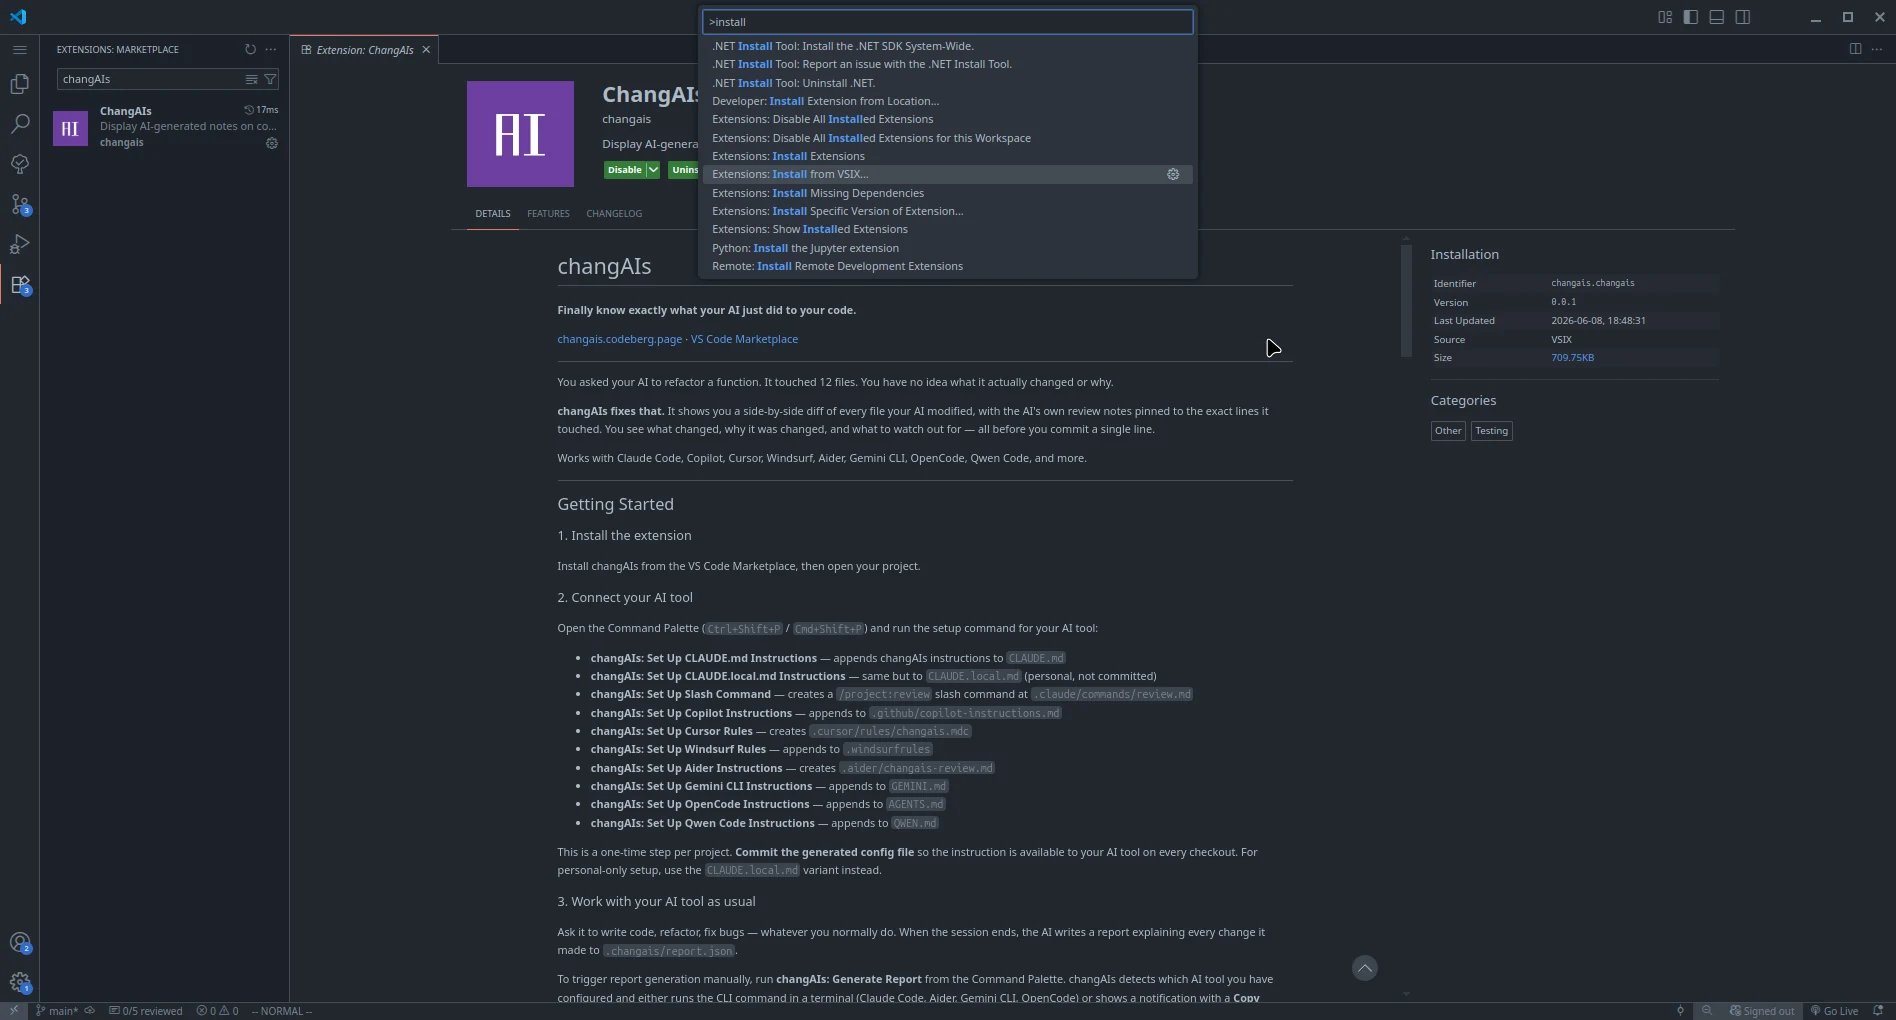
Marketplace Install
Section titled “Marketplace Install”Use the marketplace that matches your editor:
- VS Code: Visual Studio Marketplace.
- VSCodium and compatible editors: Open VSX Registry.
In your editor:
- Open the Extensions view.
- Search for
changAIs. - Select the changAIs extension.
- Choose Install.
- Reload the editor if prompted.
You can also open the direct marketplace listing links above from a browser.
If you are installing from a downloaded package, use the manual .vsix flow below.
Manual VSIX Install
Section titled “Manual VSIX Install”- Download the free changAIs
.vsixfile: changais-free.vsix. - Open VS Code, VSCodium, or another compatible VS Code-based editor.
- Open the Command Palette with
Ctrl+Shift+Pon Windows or Linux, orCmd+Shift+Pon macOS. - Run
Extensions: Install from VSIX.... - Select the downloaded
.vsixfile. - Wait for VS Code to install the extension.
- Reload VS Code if prompted.
- Open a project folder.
- Confirm changAIs appears in the Extensions view.
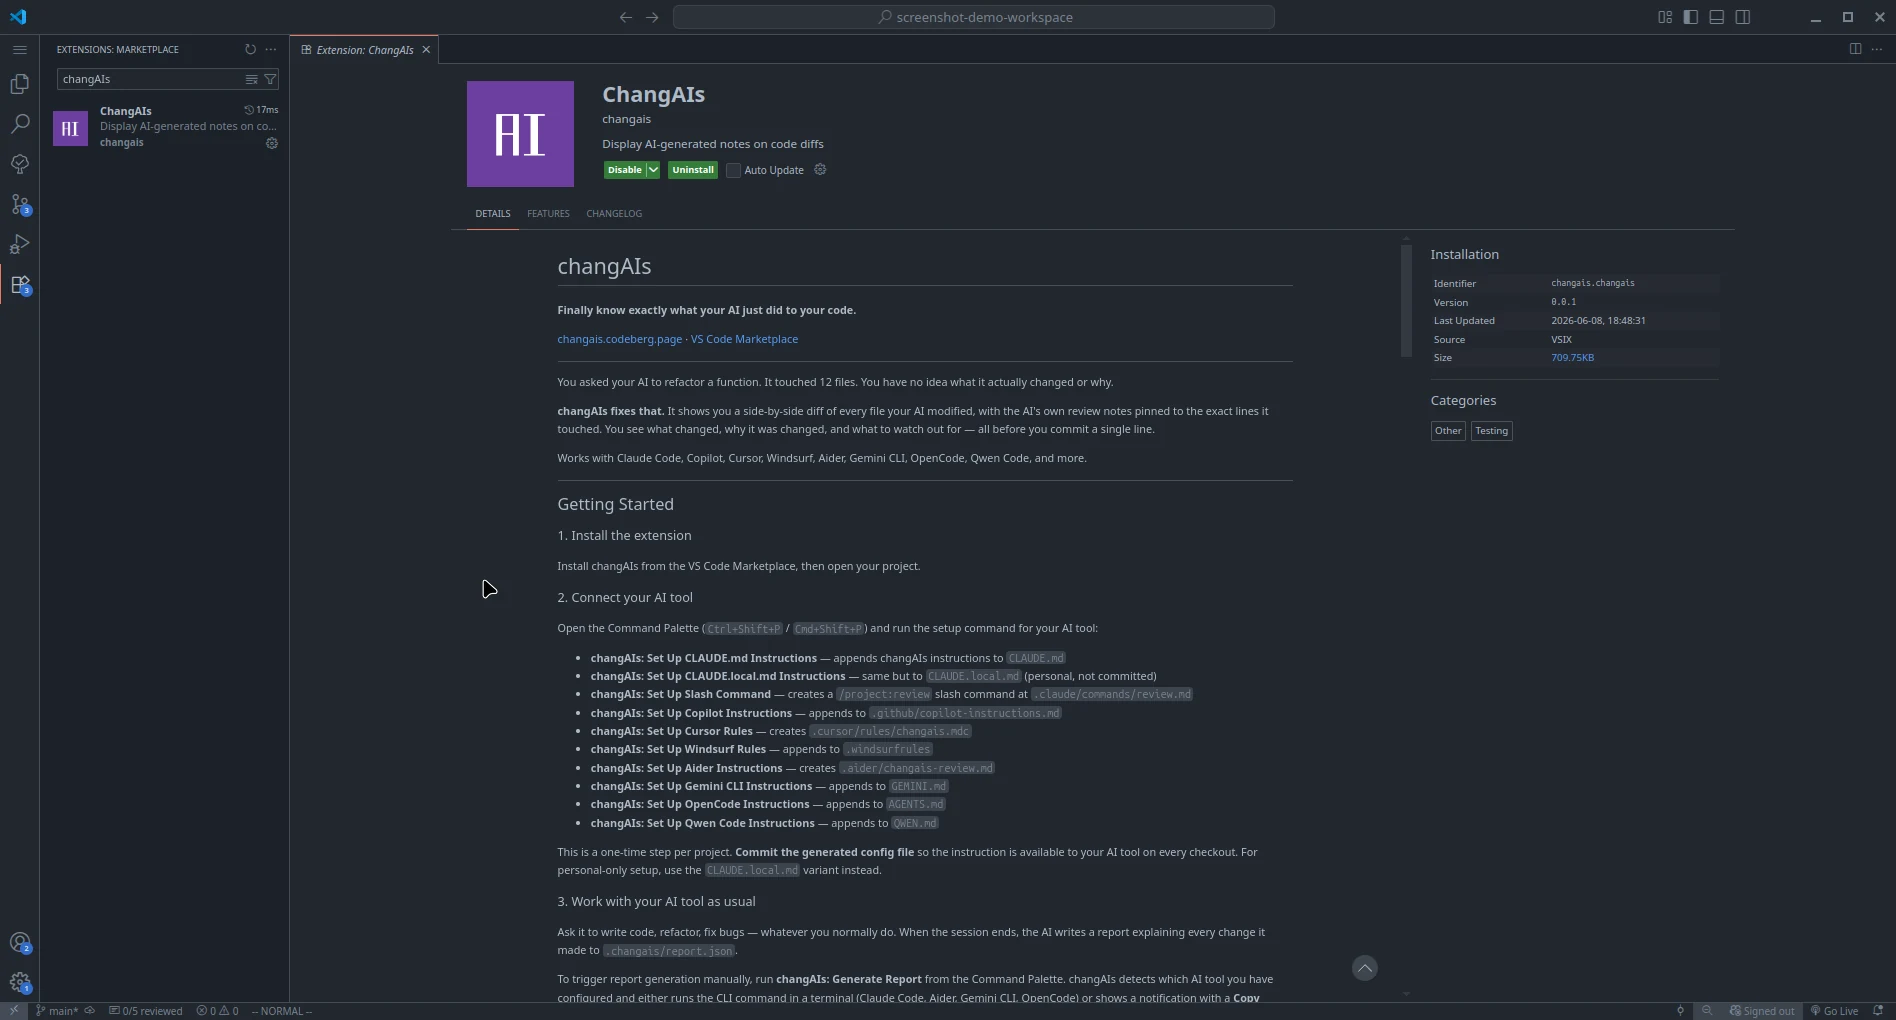
Verify Installation
Section titled “Verify Installation”After installation, open the Extensions view and search for changAIs. The extension should appear as installed.
If your installed build exposes command-palette actions, you can also open the Command Palette and type changAIs to see them.
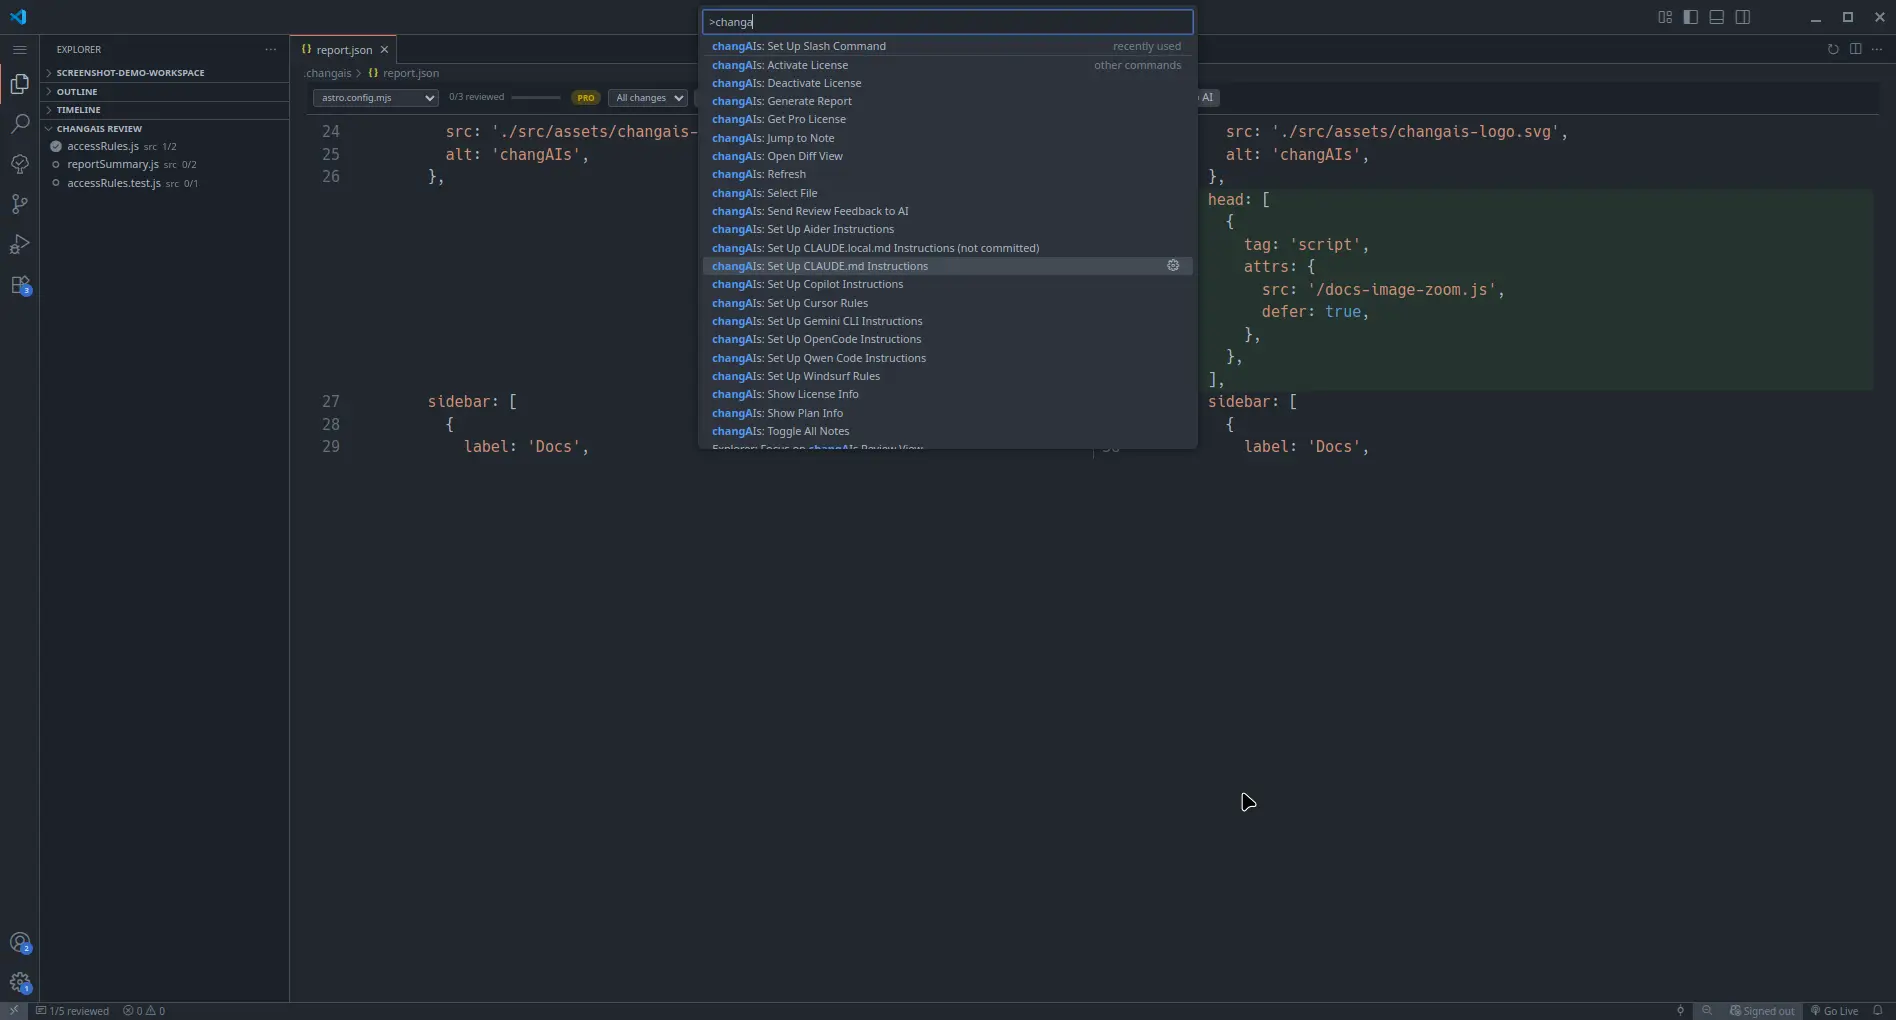
Set Up Your AI Tool
Section titled “Set Up Your AI Tool”Before an AI assistant can generate changAIs reports automatically, add changAIs report instructions to the project. The extension includes setup commands that write the correct instruction file for each supported tool:
| AI tool | Command Palette command | Instruction file |
|---|---|---|
| Claude Code | changAIs: Set Up CLAUDE.md Instructions | CLAUDE.md |
| Claude Code slash command | changAIs: Set Up Slash Command | .claude/commands/review.md |
| GitHub Copilot | changAIs: Set Up Copilot Instructions | .github/copilot-instructions.md |
| Cursor | changAIs: Set Up Cursor Rules | .cursor/rules/changais.mdc |
| Windsurf | changAIs: Set Up Windsurf Rules | .windsurfrules |
| Aider | changAIs: Set Up Aider Instructions | .aider/changais-review.md |
| Gemini CLI | changAIs: Set Up Gemini CLI Instructions | GEMINI.md |
| OpenCode | changAIs: Set Up OpenCode Instructions | AGENTS.md |
| Qwen Code | changAIs: Set Up Qwen Code Instructions | QWEN.md |
| Codex | changAIs: Set Up Codex Instructions | AGENTS.md |
Run the setup command that matches your AI tool, then ask the AI to make changes as usual. The generated instructions tell the AI to create or replace .changais/report.json for the current uncommitted changes, add notes for every touched path, and keep line numbers accurate so changAIs can pin notes to the diff.

Expected first-run flow:
- Open a project folder with AI-generated changes.
- Open the Command Palette and type
changAIs. - Run the setup command for your AI tool.
- Ask the AI to make a change and generate
.changais/report.json. - Run
changAIs: Open Diff View. - Review changed files, notes, replies, and checked or resolved state.
Update changAIs
Section titled “Update changAIs”When the extension is installed from a marketplace, use your editor’s normal extension update flow.
When you receive a newer .vsix file, install it with the same Extensions: Install from VSIX... command. The editor should replace the older build.
If the editor keeps using the old build, reload the window or uninstall the older extension build before installing the new one.
Uninstall
Section titled “Uninstall”Open the Extensions view, find changAIs, and choose uninstall. Reload the editor if prompted.